Thursday, January 10, 2013

No-Bake Chocolate Chip Granola Bars

First off I must say that I'm a granola bar aficionado. I love them. I don't remember ever not liking them. So, long story short- I was sure that home made ones would not only taste better, but would not be filled with preservatives, and hard to pronounce additives.. Here's a recipe I found off of Pinterest.
Luckily with having baked all sorts of goodies for the holidays, I had all of the ingredients on hand! How amazing is that!
Okay, here we go:

What you'll need:

1/4 cup butter
1/4 cup honey
1/3 cup packed brown sugar
2 cups quick cooking oats (not rolled oats)
1 cup crispy rice cereal
1/2 tsp vanilla
2 tbsp mini chocolate chips

Directions:

In a large bowl, stir oats and rice cereal together. Set aside.

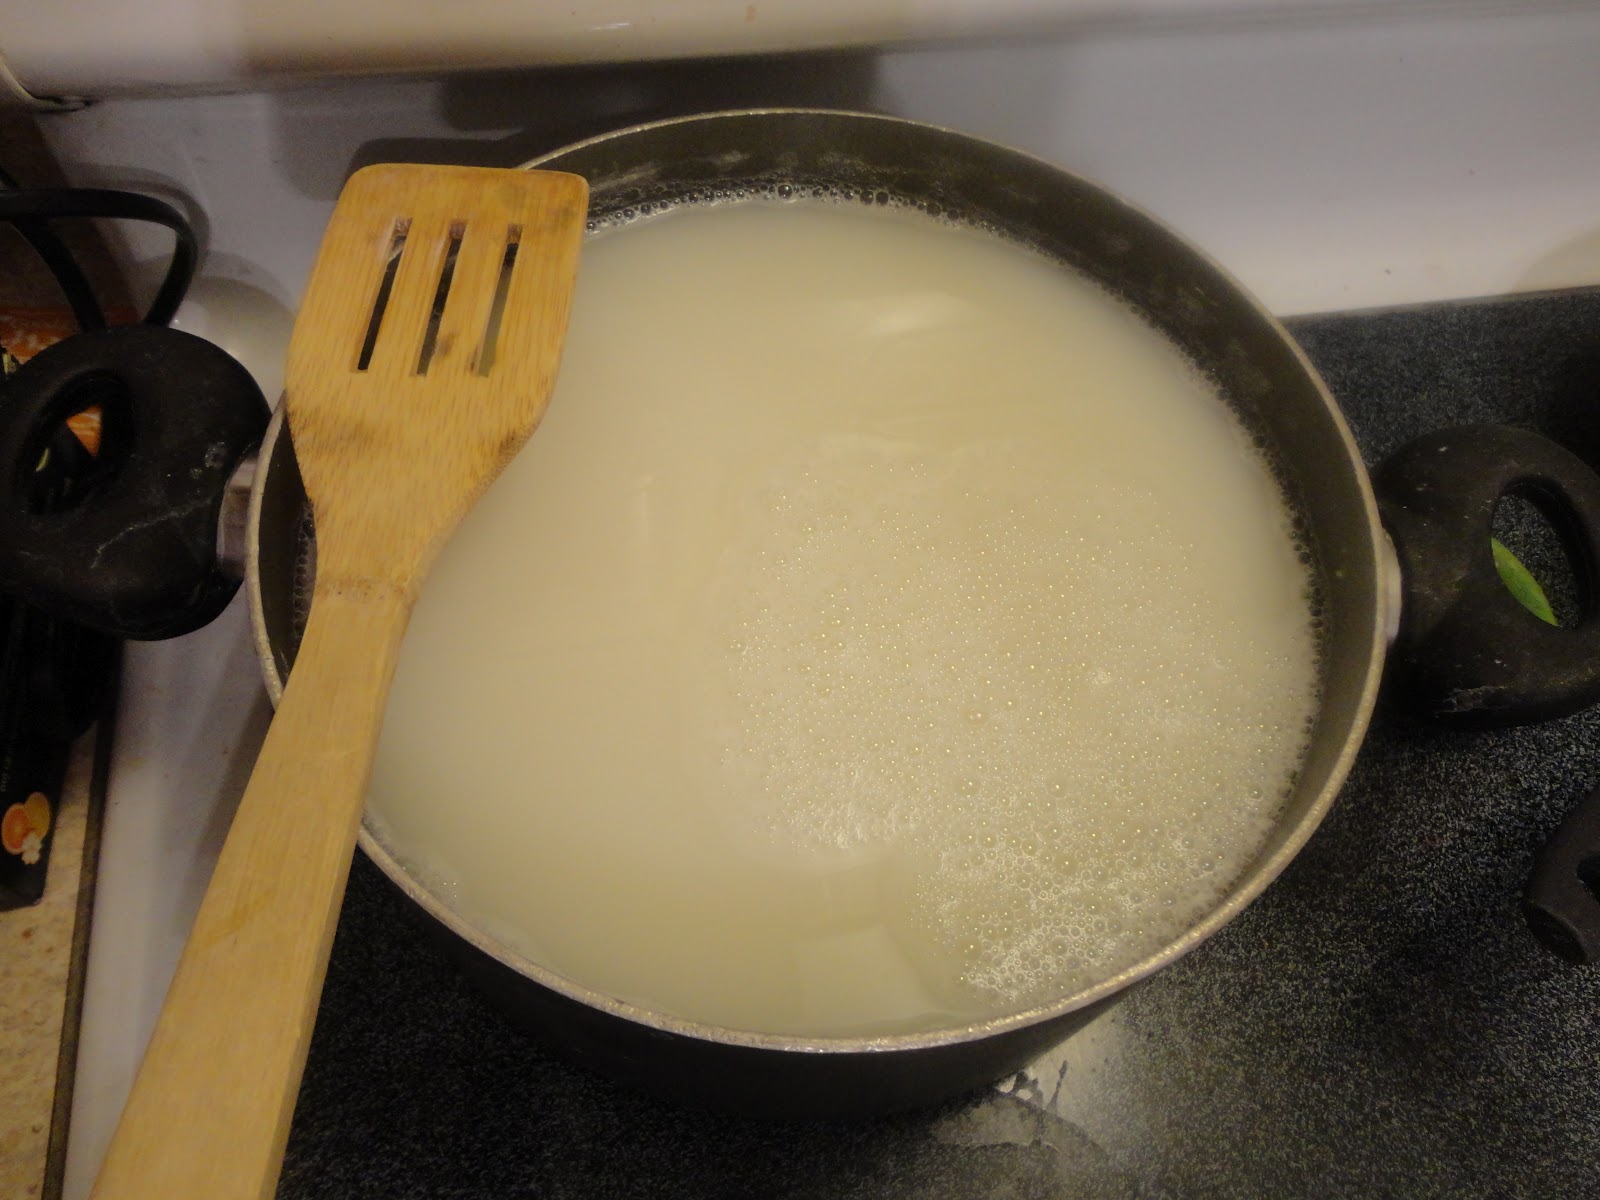
In a small pot, melt butter, honey and brown sugar together over medium high heat until it comes to a bubble. Reduce heat and cook 2 minutes.

Pour in vanilla and stir.

Pour in dry ingredients and mix well to moisten all ingredients.

Pour in a lightly greased pan and press out. (if adding chocolate chips, sprinkle them on top and press down lightly). 

(I also added peppermint kiss shavings to mine)

Cool on counter top to room temperature for two hours or until the chocolate chips are set before cutting in to bars. 

Wrap in parchment or plastic wrap and store at room temperature.

(I cut these a little prematurely so I could show a picture)

Notes: If your granola bars don't seem to be staying together when you cut them, you mayhave made them too thin or you didn't pack them in tight enough. Stick them in the fridge for 20 minutes and that should help keep them together- but be sure not to keep them in the fridge for too long or they'll be rock hard!

A personal suggestion:
These taste great. They're chewy deliciousness. However, in my opinion they have a strong brown sugar and vanilla taste- so I think I'm going to use less of the brown sugar and probably no vanilla next time.

Sunday, November 25, 2012

Better than Panera's Broccoli Cheddar Soup

Almost a year ago, I fell in love with Panera's Broccoli Cheddar Soup. It was amazing.. I HAD to have it. It didn't help that I was preggers at the time, and wanted anything including cheese ha ha..
But one bad experience with them, I vowed to never return.
But HOW was I to live without their Broccoli Cheddar Soup?? How??
Well of course I found a copy-cat recipe on Pinterest- and I have to tell you, this soup is SO much better than Panera's.. I can tell you because about a month ago I used a gift certificate for Panera's that I had received months ago, and thought, hey I'll give it another try. Their soup almost made me sick, it was so 'gluten-ized', I don't know a better word to use.. it was just gross, I actually threw it out.

Try it for yourself, and tell me what you think. I can't get enough!!!

Ingredients:

1/4 cup butter
1/2 chopped onion
1 clove garlic
1/4 cup flour
1 cup half & half
1 cup milk
2 cups chicken stock (or bouillon cubes & boiling water)
1/2 lb fresh broccoli, chopped
1 cup carrot, shredded and chopped
1/4 tsp nutmeg
1/4 tsp cardamom
8 oz grated sharp cheddar cheese
4 oz grated Colby jack cheese
salt & pepper to taste

Saute the onion and garlic in the butter over medium heat. Remove the onions (you can actually leave the onions in there) and add in the flour, stirring constantly. Add in the half & half, milk, and chicken stock. Bring to almost a boil.

Add the onions back in (if you took them out), along with the broccoli and carrots. Simmer on low heat for about 20 minutes.

Season the soup with the salt, pepper, nutmeg and cardamom.

Stir in the cheeses and let simmer for 10 minutes.
MMMMMMMMMM!!!!! Doesn't it look tasty?! Well, it is!

Monday, August 13, 2012

Homemade Dishwasher Detergent

Here's another walk-through on a super easy home-made household product:
Dishwasher Detergent!

Why spend mega bucks on stuff that doesn't clean your dishes well anyways?
Well you don't have to any more!
This takes approx. 5 minutes.
Gather these items:
*Borax
*Arm & Hammer Washing Soda (sorry, missing from picture)
*Kosher Salt- I have Epsom Salt pictured and I'll explain that later..
*Lemi-Shine
*Citric Acid (in other words, unsweetened lemonade drink mix)
*Container with spout (your choice of course, this is just easier for me)
*measuring cups

1) Combine 1 cup Borax, 1 cup washing soda, 1/2 cup kosher salt (or epsom salt), & 1/2 cup citric acid (drink mix) to a large bowl or bucket.

Okay- so I was originally following a different recipe that had Epsom salt in its ingredients list, but that recipe called for an entire box of Borax as well as an entire box of washing soda- which I didn't have an entire box of, so I found this other recipe that called for smaller amounts, but called for Kosher salt instead of Epsom. I've used this now a couple of times and it works wonderfully.

2) Pour your mixture into your desired container and shake until mixed.
You're done!

Sprinkle a little of the Lemi-Shine in your dishwasher before each load. I don't know if this is necessary, but I've been doing it and my dishes have been coming out WAAAY cleaner than using Cascade!!!

So there you go, folks. Get to it!

Thursday, July 12, 2012

Melting Crayon Creation

Melting Crayon Creation
Sooo.. I finally did the melty crayon on canvas project that's all over Pinterest. It turned out pretty neat I think..
One thing- you need a powerful hair dryer. Mine took forever.
 So, it's pretty self-explanatory but, you'll need crayons, canvas, and a glue gun.
Glue your crayons to the canvas.. that's pretty much all the prep you'll need. Easy huh?
I quickly realized that having your hair dryer blowing directly at the bottom of the crayon made the colors "splash" all over the canvas.. and not look too pretty (as shown above). So I moved the dryer to the tops and it worked much better.
 Now this process took quite a while, but once those crayons started melting, there was no stopping them! Stay in one section at a time.. And I'd recommend using a super powerful hairdryer or you could be doing this for 20 minutes!

Have fun!!!

Monday, May 21, 2012

Make Your Own Laundry Soap!

Finding this recipe and making my own laundry soap is probably the best thing I've done as far as 'making my own to save money' projects. It's incredibly easy and cheap and has saved me SO much money, it's ridiculous. This soap is lemony fresh and cleans my clothes at a fraction of the price you'd pay for detergent at the store. I can't even fathom paying that much for soap ever again, I sure don't plan on it anyway..

This takes about a half an hour or so, and makes a little over 2 gallons of liquid laundry soap. My directions will be for a single batch, but my pictures will show double batch amounts, as I make double batches when making this soap. It is now May 2012, the last time I made a double batch (about 4 gallons) was October of 2011! And we have 5 in our household- so LOTS of clothes. This soap lasts a LONG time.

What you will need:

1 bar soap (I use Fels Naptha, which can be found with laundry soap at your grocery store)
1 cup Borax
1 cup Washing Soda
Grater
Big stew pot (one you don't use for food and can devote to crafting)
Mop bucket
Wooden spoon
A funnel (REALLY useful when it's time to pour!)
Measuring cup
Gallon jugs (3)


First, bring 6 cups of water to a boil in your stew pot.

While you're waiting for your water to boil, grate your soap. Be careful with this part- that grater is sharp, and I almost always graze my knuckles while doing it, so take your time.
Add the soap to your pot and stir until dissolved. Also, lower the heat to avoid an over boil.

Once the soap is dissolved, slowly add your borax & soda. Stir these until dissolved.
Turn off heat.
Now if you let your soap cool for too long, it will coagulate, and will be difficult to pour, so don't let it cool too long.
Now pour 1 gallon + 4 cups HOT water into your bucket. Add soap mix and stir.

Prepare to pour your soap into your containers. The soap will expand when cooling, so remember to not fill your containers completely.
Place your funnel into your gallon container, and have a friend pour in the soap slowly.
Prior to using your soap, give it a good shake in your container to mix it real good.
You will use about a 1/2 cup per load of laundry.

See how I left room in the jugs? See how much soap I made? Incredible. Best. Idea. Ever.

Sunday, March 25, 2012

Onesie Transformation

Okay so summer isn't even here yet, and the days have become quite warm and disgustingly humid..a sign of a possibly super warm and humid summer? Who knows..it's Nebraska. It very well could be snowing in July.
Well, knowing very well how warm it will become in a few months, I have prepared myself by buying my lil' 1 month old some sleeveless onesies she can wear.
But who wants to wear a plain white onesie! BORING!

In the past, I would have just tie dyed these onesies and voila! Color! But I'm in no way a professional tie-dyer (is this a word?) and only about 2 out of 5 shirts come out cool- leaving the other 3 really not that desirable.
Soo..
I bought some cool looking felt, and used some of my old fabric scraps to cut out shapes and cool designs.
I used Aleene's Fabric Fusion permanent fabric adhesive to 'glue' these designs onto the fabric. Remember to place a piece of cardboard between the layers of fabric so your shirts don't glue themselves together!
Of course being an owl fanatic I had to do some owl ones!
Now, these are the side snap shirts, which I love- 1) they don't get in the way of that pesky belly button stump newborns have for the first 2-3 weeks and 2) they're cute.
These shirts are perfect for baby to wear on those super hot and humid nights instead of pj's.
Hello Kitty ones of course!
Hearts, a make-shift owl and a crescent moon.
The owl was cut from the tie dye felt, and I had to keep telling myself to quit stressing about how it looked! I'm not going to get it perfect- and dog gone it, who cares!
Once the glue dries, I reinforce these 'appliques' with stitching. I just do this by hand.

Now the checkout lady at the fabric store told me that felt isn't machine washable, but then she noticed on the back of the felt where the price tag sticker is, that there was a symbol of a washing machine, so these must be washable. So just a heads up to look for this symbol if you plan on washing felt.
I tried it out by washing the first one I did- the heart one, and it looks just like it did before washing.

Wednesday, March 7, 2012

Make Your Own Handsoap!

Realizing how much money our household was spending on hand soap, I knew I needed to find a recipe to make our own. Luckily, I found a super easy recipe on Pinterest, and the soap turned out great. Now, this soap is a bit on the runny side, but it cleans your hands none the less. Also, it cost WAY less that buying hand pump liquid soap at the store- even cheaper than those 'refiller' bottles. 

I used Yardley bar soap- which is only $.97 at your local drugstore, then the glycerin which cost me about $1.25. Just these two items, plus the water needed, made almost a GALLON of hand soap! At the final cost of just over $2.00! You can't beat that!
So don't throw away your old soap pump containers- you will use them for your handmade soap!


Here's what you need:


1 8oz bar soap
2 tbsp liquid glycerin
1 gal water
cheese grater
funnel (very helpful)
empty 1 gal container
large cooking pot (one you don't care for or one set aside just for crafting)


First, gather your ingredients and supplies.
1) Grate your soap


2) Fill a pot with 1 gallon water and shavings. Add 2 tbsp of liquid glycerin and turn your heat to medium/high and stir until soap dissolves. I let mine stew for about 25 mins and stirred frequently.
3) Let cool for at least 10-12 hrs.


4) The soap should end up a snot-like consistency (gross, I know.. but it's the truth!). If the soap is harder than it should be, blend it while adding just a bit of water.
My soap was a little thick in places, so I threw on some latex gloves and dove right in and mixed by hand.


5) Use a funnel to pour the soap into your gallon container.
The final result:
Super easy and cheap hand soap!
I will never buy store bought AGAIN!!!